In order for Windows to run PHP code, the PHP binary files need to be copied to your system. No installation is required, however some configuration must be done in order for the PHP page to properly run.
How to configure PHP?
The first step is to download the PHP Windows Binaries from here and extract the files (i.e. ‘C:\php’). For IIS 7, the non thread safe(nts) binaries should be used. After that, rename php.ini-production file from the extracted files to php.ini.Open the php.ini file in Notepad and configure it as needed. There are few changes you will need to make to configure PHP for your IIS 7 system:
- Uncomment and set the key, cgi.force_redirect = 0
- Uncomment the key, fastcgi.impersonate = 1
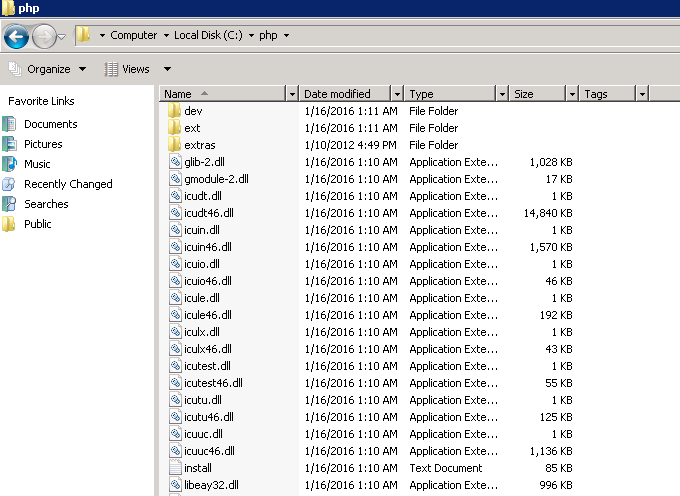
- Uncomment and set the key, extension_dir to the ‘ext’ folder in the path PHP was extracted to (i.e. ‘C:\php\ext’).
- Set date.timezone to the time zone of your server. You can refer here
- Then you should check or uncomment .dll option as per attached base on the requirements needed by your website.

For your information, Internet Information Services (IIS) 7 includes the FastCGI framework as part of the installation package. Hence, to make sure it is enabled in your IIS 7 installation, check the Role Services under:-
Server Manager –> Roles –> Web Server –> Add Role Services.
Next, you must make sure the “CGI” option is installed under the “Application Development” section. If it is not, enable this feature and update your IIS 7 installation.

IIS –> Fast CGI –> Add Application

Set the path to the php-cgi.exe executable located in the folder where you extracted the PHP Windows binaries. Additionally, change the “InstanceMaxRequests” to a value higher than the default (i.e. 5000) as attached. Under the “EnvironmentVariables” setting, click the button to configure additional options.

After that, add a new variable named “PHP_MAX_REQUESTS” and set the value to the same amount as the “InstanceMaxRequests” setting above. After apply all the settings as below, click OK.

We have to map how PHP scripts are executed by IIS which is configured in “Handler Mappings”. In the Handler Mappings, add a new module mapping. Set as below.


When you get the confirmation prompt, answer “Yes” to confirm you want PHP to run as a FastCGI application.


<?php phpinfo(); ?>
Finally, browse to the address ‘http://localhost/phpinfo.php’ on your server and you should see the PHP information page. If the page loads successfully, PHP is now up and running on your machine.

Comments
Post a Comment